129 lines
4.5 KiB
Markdown
129 lines
4.5 KiB
Markdown
# NUXT
|
||
## 基於VUE 可以更有效率地進行前端,省了很多路由部分,可以直接創建Page即可開始
|
||
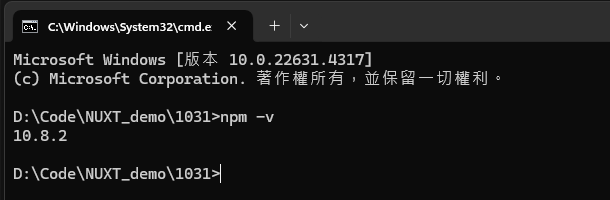
先下載Node.js 並安裝
|
||
|
||
於準備開發的資料夾下方開啟CMD
|
||
|
||
檢查有無node.js
|
||
```
|
||
npm -v
|
||
```
|
||
|
||
|
||
## 執行前人的NUXT專案
|
||
於下載好後的資料夾中(nuxt-demo 中)
|
||
|
||
開啟CMD執行以下
|
||
```
|
||
npm install
|
||
```
|
||
|
||
這樣可以直接安裝好此專案所需的套件包
|
||
|
||
運行
|
||
|
||
```
|
||
npm run dev
|
||
```
|
||
即可啟動專案
|
||
|
||
|
||
|
||
## 創建 NUXT
|
||
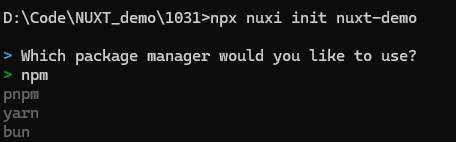
創建NUXT專案(nuxt-demo)
|
||
|
||
```
|
||
npx nuxi init nuxt-demo
|
||
```
|
||
|
||
|
||
|
||
選擇 npm
|
||
|
||
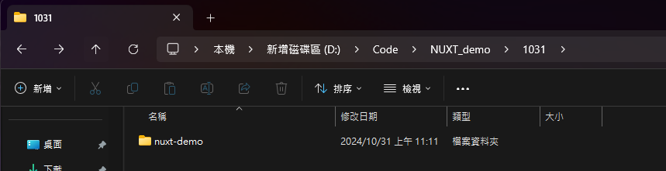
等安裝好後即可在資料夾下方找到剛剛創建的NUXT專案
|
||
|
||
|
||
|
||
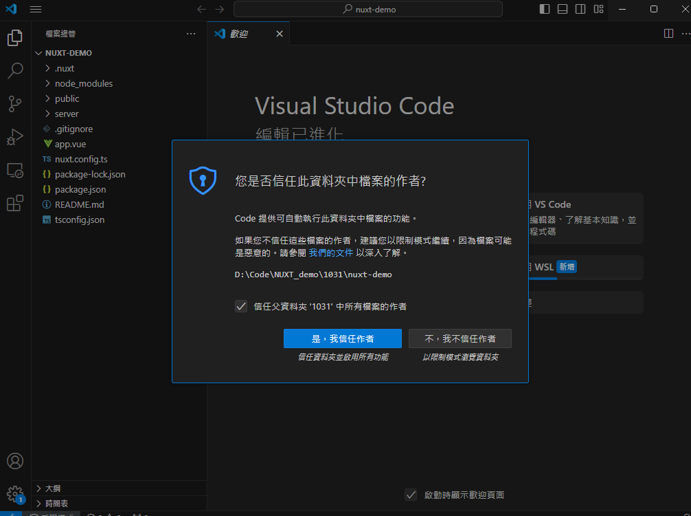
將這個專案資料夾以 VS CODE 開啟
|
||
|
||
|
||
|
||
|
||
### 參考網址 內部有推薦的安裝套件包
|
||
https://wayne-blog.com/2023-01-14/nuxt-try-nuxt3/
|
||
|
||
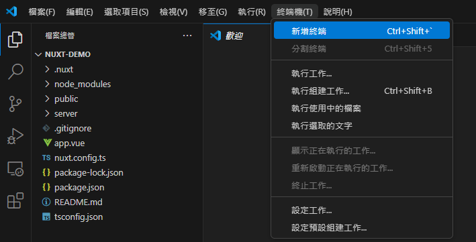
於 VSCODE 開啟終端機
|
||
|
||
|
||
|
||
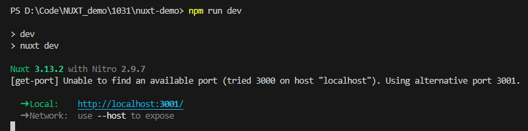
運行此NUXT # 這個會常用到
|
||
```
|
||
npm run dev
|
||
```
|
||
|
||
|
||
|
||
### 靜態路由
|
||
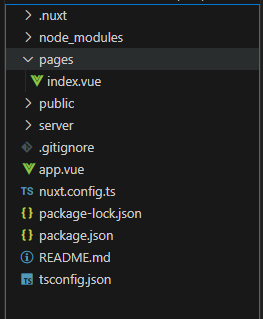
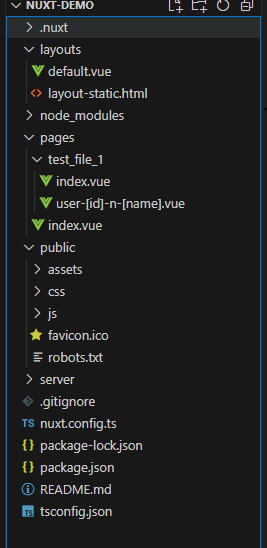
於目錄中創建 pages資料夾(一定要這個名稱的資料夾)
|
||
|
||
這邊是此框架的一些硬性條件:
|
||
|
||
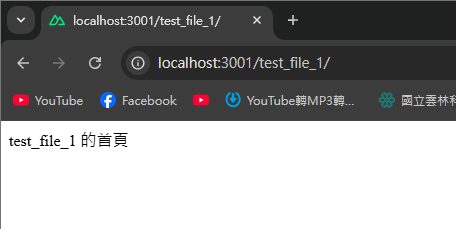
於pages資料夾底下創建 index.vue 會直接默認成為首頁 (例:http://localhost:3000)
|
||
|
||
|
||
|
||
|
||
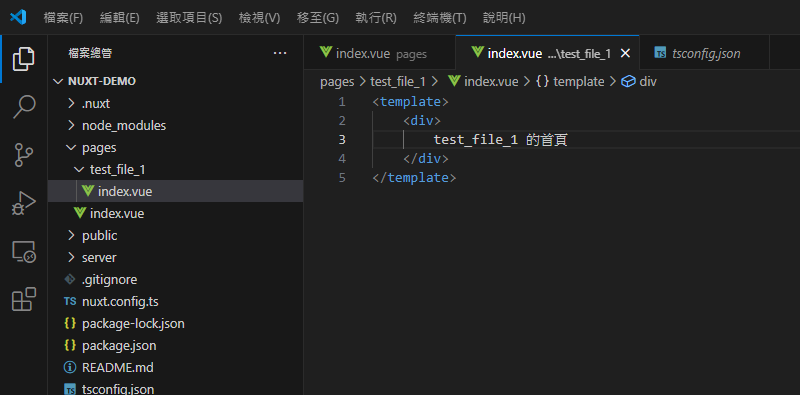
若於 pages下創建一個叫 test_file_1 的資料夾 則也需要在底下創建 index.vue (例:http://localhost:3000/test_file_1)
|
||
|
||
|
||
|
||
|
||
|
||
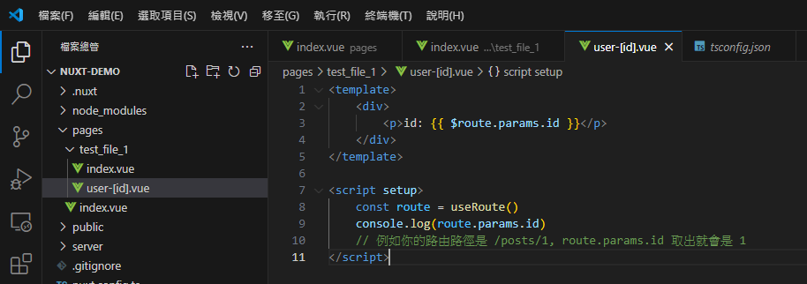
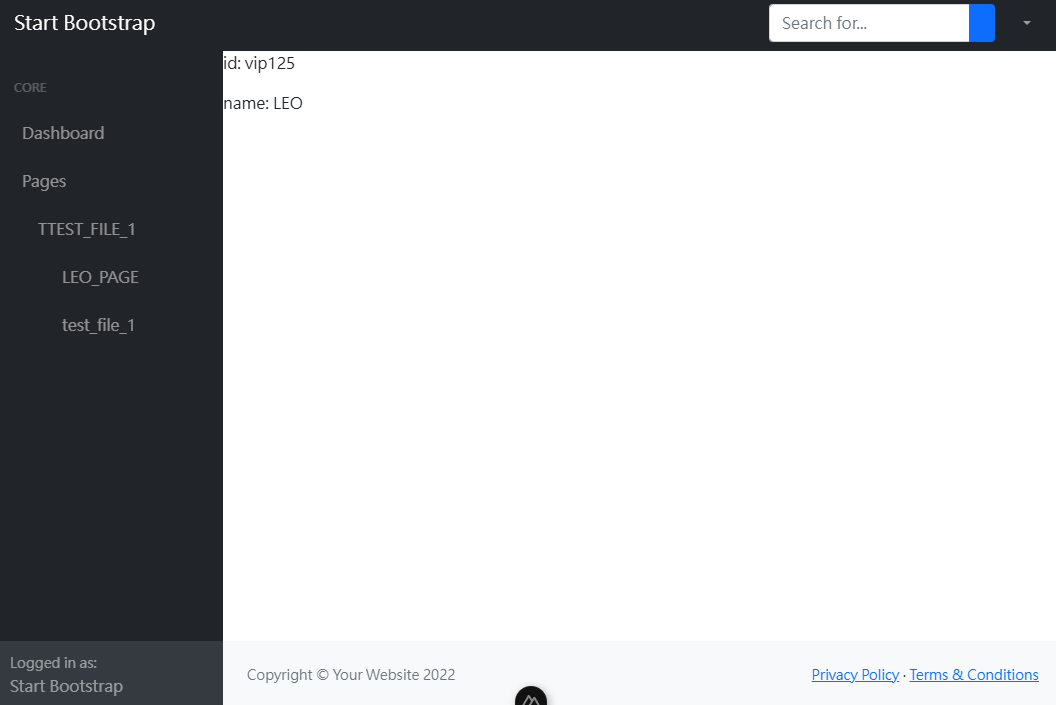
### 動態路由
|
||
若需要根據使用者或一些動態數據去做頁面顯示
|
||
|
||
名稱以 [ ] 包住 如下圖所示
|
||
|
||
|
||
|
||
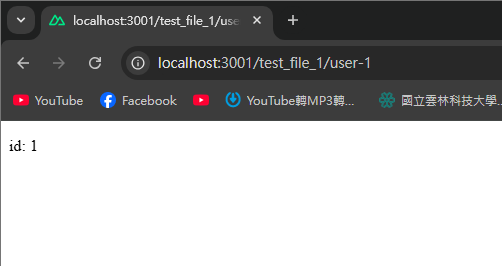
輸入網頁 則會出現
|
||
|
||
|
||
|
||
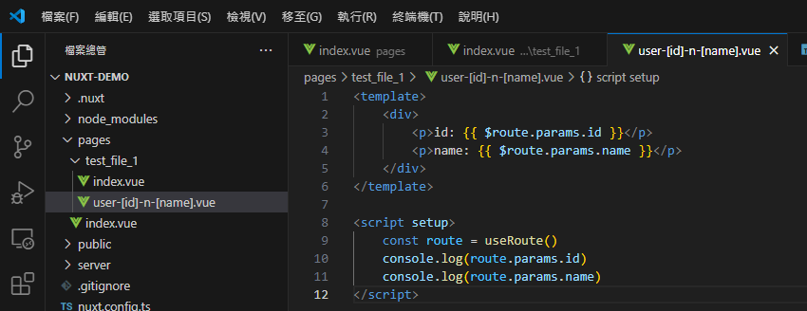
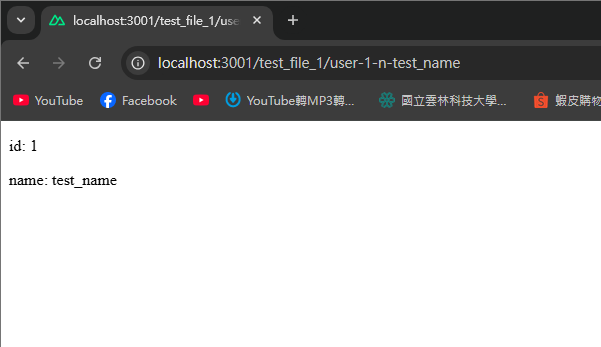
若有多個參數 也同理
|
||
|
||
|
||
|
||
輸入網頁 則會出現
|
||
|
||
|
||
|
||
### 套Bootstrap
|
||
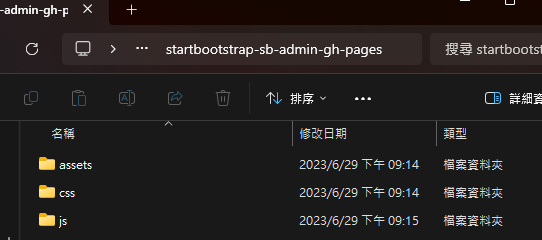
找到選用的Bootstrap
|
||
|
||
並將資料夾全丟入 public 資料夾裡面
|
||
|
||
|
||
|
||
|
||
|
||
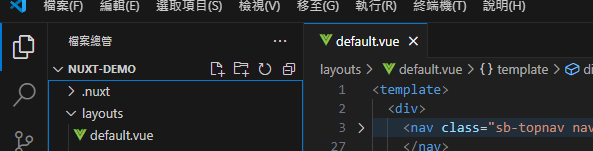
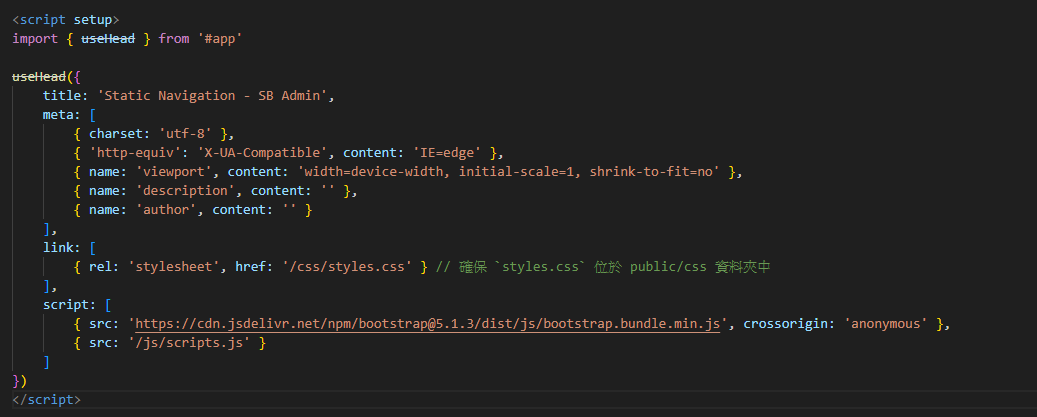
#### 設置layout
|
||
創建 layouts 資料夾 並於底下創建 default.vue (預設路徑就這樣)
|
||
|
||
|
||
|
||
並將主要部分換成NUXT的格式
|
||
|
||

|
||

|
||
|
||
匯入css 與js 的方式 如下圖所示進行編輯即可(CHATGPT)
|
||
|
||
|
||
|
||
完成後即可查看頁面
|
||
|
||
|
||
|
||
|